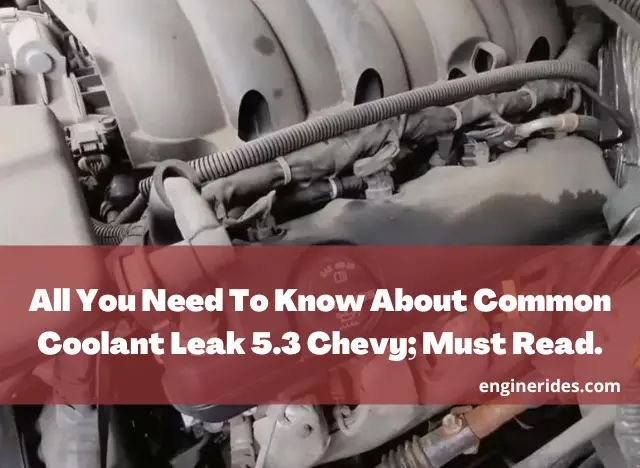
All You Need To Know About Common Coolant Leak 5.3 Chevy; Must Read
Coolant leaks has been a vastly seen problem in 5.3 Chevy engines, and I’ve seen many people around the world is looking for a solution for this, and in this article I’m gonna help you solve this problem ASAP on your own.
Here, we explore common coolant leaks in the 5.3 Chevy engine, a widely used powertrain in many Chevrolet models. Coolant leaks can lead to significant engine problems if not addressed promptly.
We’ll discuss the typical leak locations, causes, diagnosis, and repair methods. The article aims to provide simple, easy-to-understand information for vehicle owners and enthusiasts.
What Are the Common Signs of a Coolant Leak in a 5.3 Chevy?
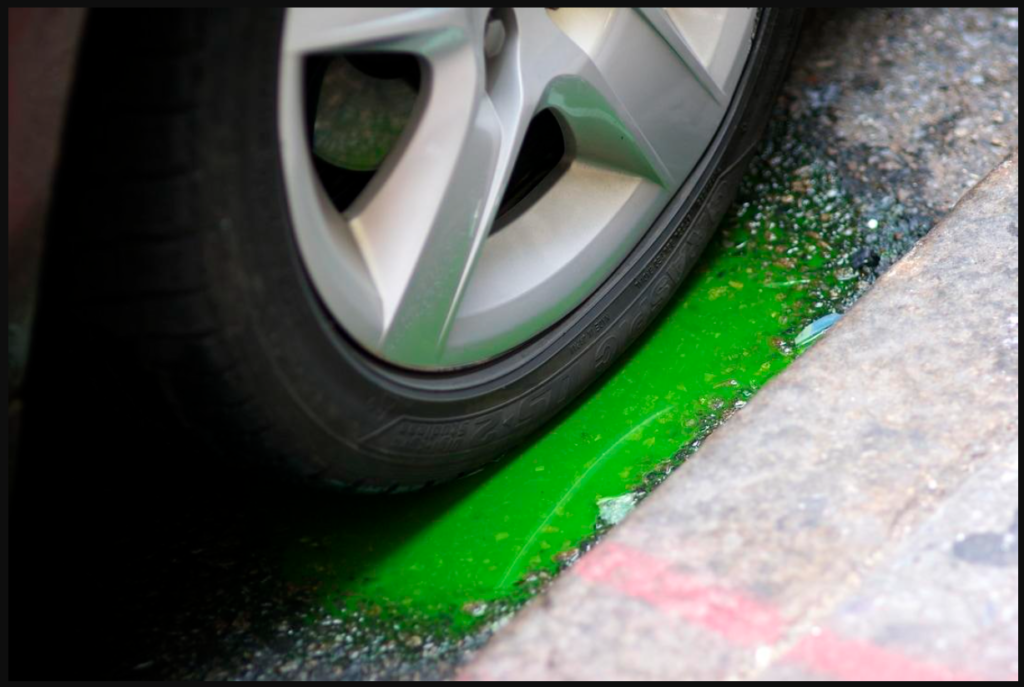
A coolant leak in a 5.3 Chevy engine can manifest in several ways. The most obvious sign is a visible coolant puddle under the vehicle, usually bright green, orange, or pink. Another indicator is the smell of coolant, often described as sweet or maple-like, coming from the engine area.
Additionally, overheating issues or a rapidly dropping coolant level without visible leaks could also suggest a hidden coolant leak.
It’s essential to address these signs promptly. Ignoring them can lead to more severe engine damage, such as overheating, which can be costly to repair.
Where Do Coolant Leaks Commonly Occur in a 5.3 Chevy?
There are some common locations that a coolant leak can start and keep leaking, and the following are some of those common locations in 5.3 Chevy.
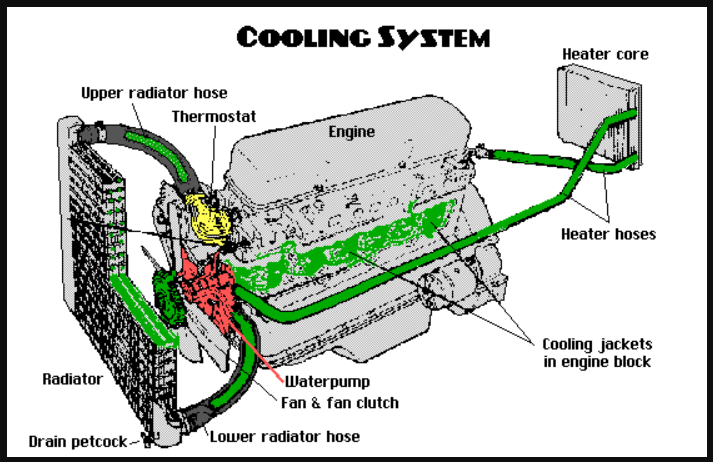
1. Water Pump The water pump is a frequent leak point. Its gaskets can deteriorate over time, leading to leaks. Also, the pump’s weep hole might leak coolant as a sign of bearing failure.
2. Radiator The radiator can develop leaks at seams or from small punctures. Corrosion or physical damage are common causes.
3. Hoses and Clamps Over time, hoses may crack or become loose, and clamps can lose tension, leading to leaks at connection points.
4. Heater Core Located inside the cabin, a leaking heater core can lead to coolant seeping into the vehicle’s interior, often indicated by a wet passenger-side floor.
5. Intake Manifold Gasket In some 5.3 Chevy models, the intake manifold gasket can fail, causing internal or external leaks.
How Can You Diagnose a Coolant Leak?
Diagnosing a coolant leak in a 5.3 Chevy engine involves a few steps:
Visual Inspection Check for visible leaks around the water pump, radiator, hoses, and connections. Look for wet areas or coolant trails.
Pressure Test A cooling system pressure test can help locate leaks. This involves pressurizing the system and looking for escaping coolant.
Check Oil and Transmission Fluid Coolant in oil (milky appearance) or transmission fluid could indicate a more severe issue, like a leaking head gasket or cracked engine block.
Professional Diagnosis If the leak is not apparent or if it’s internal, a professional diagnosis might be necessary.
What Are the Repair Options for a Coolant Leak?
Certainly, let’s dive into the step-by-step process for each of the five common repair options for coolant leaks in vehicles.
1. Replacing the Water Pump
Step 1: Preparation
- Drain the coolant from the system.
- Disconnect the battery to ensure safety.
- Remove any components blocking access to the water pump (like the serpentine belt).
Step 2: Removing the Old Water Pump
- Unbolt the water pump from the engine. Take note of the bolt locations and lengths.
- Remove the old water pump. You might need to gently pry it off if it’s stuck.
How Much Coolant Loss Is Normal? Best Guide
ENGINERIDES.COM
Step 3: Installing the New Water Pump
- Clean the mounting surface on the engine to ensure a good seal.
- Install a new gasket or sealant as required.
Position the new water pump and bolt it in place, following the correct tightening sequence and torque specifications.
Step 4: Reassembly and Testing
- Reinstall any removed components.
- Refill the cooling system with coolant.
Start the engine and check for leaks. Monitor the engine temperature to ensure proper operation.
2. Repairing a Radiator Leak
Step 1: Locate the Leak
- Identify the exact location of the leak on the radiator.
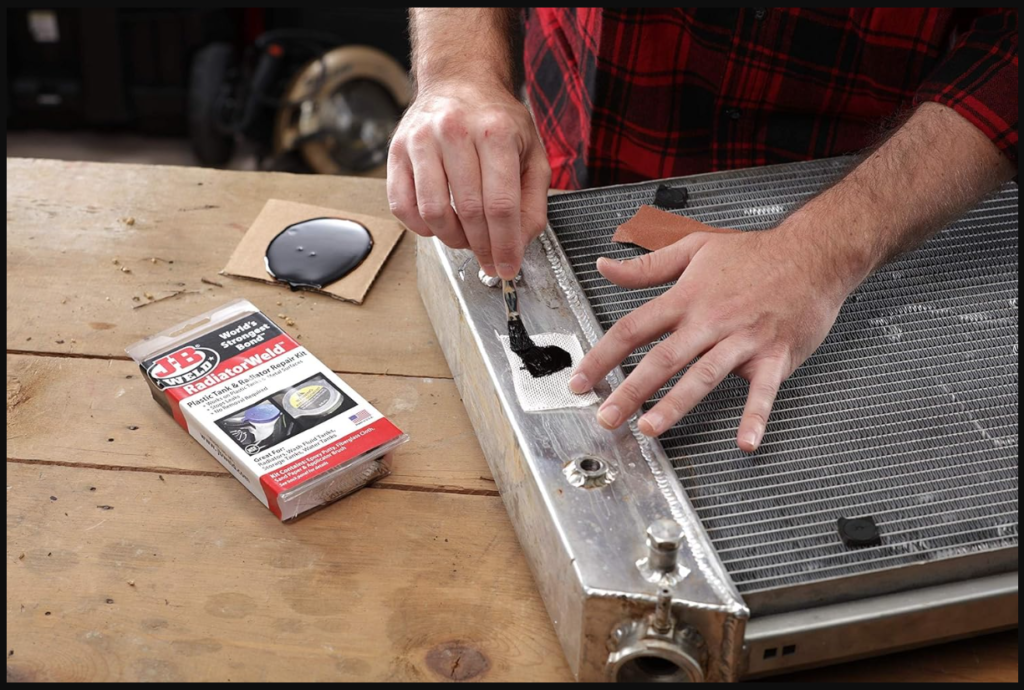
Step 2: Repair or Replace
- For small leaks, use a radiator repair kit or epoxy.
- Clean the area around the leak thoroughly before applying the repair material.
For larger leaks or significant damage, remove the radiator and install a new one, ensuring all connections and hoses are properly reattached.
3. Replacing Hoses and Clamps
Step 1: Identify Damaged Hoses or Clamps
- Check all coolant hoses for cracks, soft spots, or brittleness.
Step 2: Remove Old Hoses/Clamps
- Drain the coolant.
- Remove clamps and then the hoses. Be prepared for residual coolant to spill out.
Step 3: Install New Hoses and Clamps
- Position the new hoses and secure them with new clamps.
- Ensure a snug fit without over-tightening, which could damage the hoses.
Step 4: Refill and Test
- Refill the coolant and check for leaks.
4. Heater Core Replacement
Step 1: Dashboard Removal
- This is a complex task that often involves removing parts of or the entire dashboard.
Step 2: Access and Remove the Heater Core
- Once the dashboard is off or moved aside, locate and remove the heater core.
- Disconnect the inlet and outlet hoses from the heater core.
Step 3: Install the New Heater Core
- Place the new heater core into position and reconnect the hoses.
- Ensure all connections are secure.
Step 4: Reassemble the Dashboard and Test
- Reinstall the dashboard.
- Refill the coolant and check for leaks. Test the heating system for proper operation.
Accidentally Put Oil In Coolant Reservoir? Here Is What To Do
ENGINERIDES.COM
5. Intake Manifold Gasket Replacement
Step 1: Remove Engine Components
Remove components obstructing access to the intake manifold, such as air intake, throttle body, and possibly the fuel rail.
Step 2: Remove the Intake Manifold
- Unbolt and remove the intake manifold.
- Remove the old gasket and clean the surface.
Step 3: Install New Gasket and Manifold
- Place the new gasket.
- Reinstall the intake manifold, following torque specifications.
Step 4: Reassemble and Test
- Reinstall any removed components.
- Refill coolant if necessary and check for leaks.
Each of these repair processes requires a certain level of mechanical skill and experience. For complex repairs, especially involving the heater core or intake manifold, it’s often advisable to seek professional assistance.
Preventative Measures to Avoid Coolant Leaks
Prevention is always better than cure, especially regarding vehicle maintenance. Regularly check the coolant level and inspect the engine for signs of leaks. Replace the coolant as recommended by the manufacturer, and consider replacing aging hoses, clamps, and the water pump as preventative maintenance. Regular inspections by a professional can also help catch issues before they lead to leaks.
Conclusion
Coolant leaks in the 5.3 Chevy engine can stem from several areas, including the water pump, radiator, hoses, heater core, and intake manifold gasket. Recognizing the signs early and addressing them promptly is key to preventing more severe engine damage. Regular maintenance and inspections are crucial in preventing these issues.
Some Related FAQs,
1. Can a coolant leak cause my 5.3 Chevy to overheat?
Yes, a coolant leak can lead to low coolant levels, which can cause the engine to overheat.
2. Is it safe to drive my vehicle with a coolant leak?
It’s not advisable to drive with a coolant leak as it can lead to engine overheating and significant damage.
3. How often should I check the coolant level in my 5.3 Chevy?
It’s a good practice to check the coolant level at least once a month and before any long trip.
4. Can stop leak products permanently fix a coolant leak?
Stop leak products may provide a temporary solution but are not a permanent fix. Proper repair is necessary for a lasting solution.
5. Are coolant leaks expensive to fix?
The cost depends on the leak’s location and severity. Some fixes are simple, like hose replacement, while others, like a heater core replacement, can be more labor-intensive and costly.