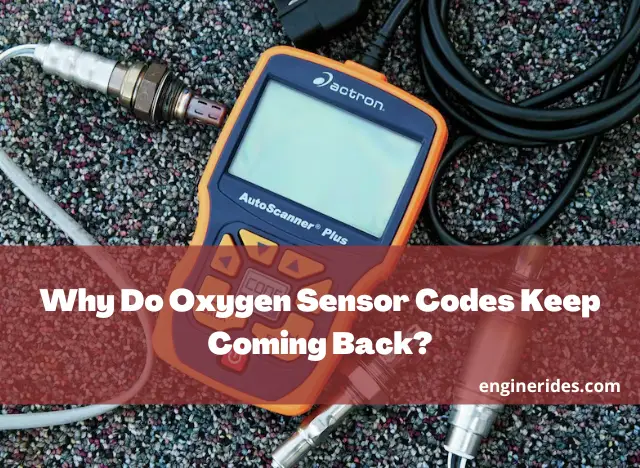
Why Do Oxygen Sensor Codes Keep Coming Back?
With my experience working with fixing O2 sensors, I can say that the Oxygen sensor codes persist due to incomplete repairs, low-quality sensors, underlying problems like misfires, exhaust leaks, or faulty wiring/connectors, and intermittent issues. These factors can prevent accurate sensor readings and result in the codes to keep coming back.
So here we’ll explore why these codes might persist despite seemingly fixing the problem, what causes them in the first place, and how to effectively diagnose and resolve the issue. Whether you’re a vehicle owner or a mechanic, understanding the nuances of oxygen sensor codes is essential for maintaining a smoothly running car.
Table of Contents
What causes repeated O2 sensor failure?
Repeated O2 sensor failure can be attributed to several factors. O2 sensors may fail due to contamination in the exhaust stream, caused by an excessively rich fuel mixture or oil blow-by in older engines. Additionally, engine coolant entering the combustion chamber due to an engine gasket leak can also lead to sensor damage.
Contaminants affect the sensor’s ability to accurately measure oxygen levels, resulting in inaccurate readings and potential damage. Regular maintenance, addressing fuel and oil-related issues, and promptly fixing gasket leaks are essential in preventing repeated O2 sensor failures and ensuring optimal engine performance and emissions control.
Why Do Oxygen Sensor Codes Keep Coming Back?
If you’ve encountered a situation where oxygen sensor codes keep returning even after addressing the issue, you’re not alone. There are several reasons why these codes may persist:
- Incomplete Repairs
One common cause is incomplete repairs. While you may have replaced a faulty oxygen sensor, other related problems, such as exhaust leaks or wiring issues, could still exist. It’s crucial to perform a comprehensive inspection to identify and resolve all potential issues.
- Low-Quality Sensors
The quality of the replacement oxygen sensor matters. Using a low-quality or aftermarket sensor may not provide accurate readings or compatibility with your vehicle’s system, leading to recurring codes. Opt for high-quality, OEM (Original Equipment Manufacturer) sensors for reliability.
Why Does The Gas Coming Out Of Exhaust? All You Need To Know
ENGINERIDES.COM
- Underlying Problems
Oxygen sensor codes often indicate a broader problem, such as an engine misfire, fuel delivery issues, or a faulty catalytic converter. Ignoring these underlying issues can result in recurring sensor codes. Thorough diagnostics are necessary to identify and address these root causes.
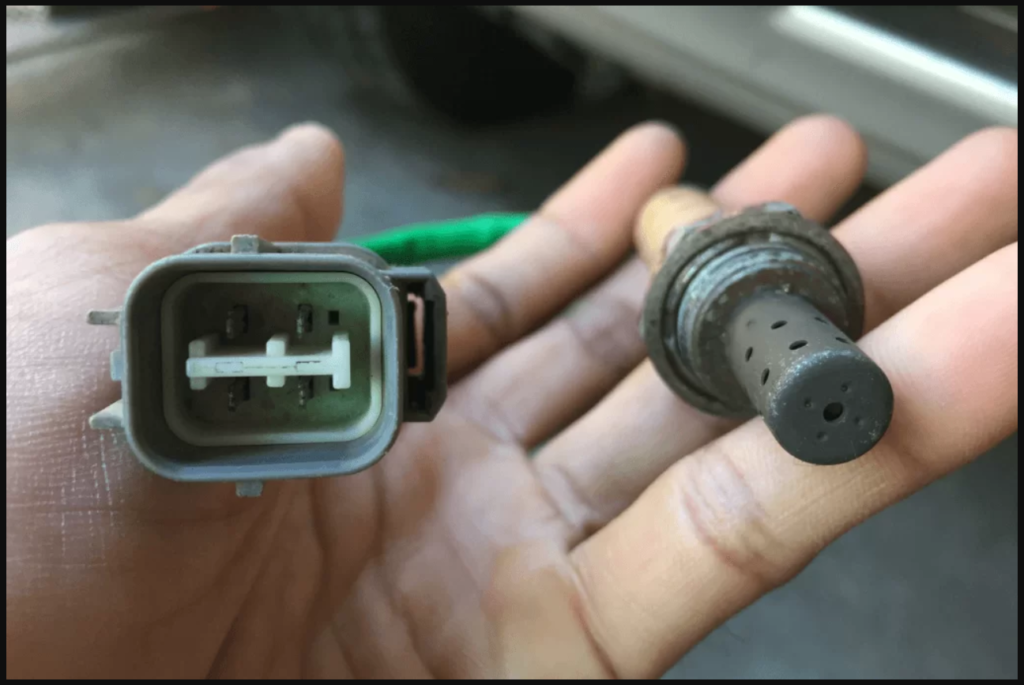
- Faulty Wiring or Connectors
Wiring harnesses and connectors that link the oxygen sensor to the vehicle’s computer can deteriorate over time. Damaged or corroded connections can lead to inaccurate sensor readings and persistent codes. Inspect and replace any damaged wiring or connectors.
- Intermittent Issues
Some problems may be intermittent, causing oxygen sensor codes to come and go. This can make diagnosis challenging. Using diagnostic tools to capture data during a code occurrence can help pinpoint the issue, even if it’s not consistently present.
How to Effectively Diagnose and Resolve Oxygen Sensor Codes?
As the oxygen sensor plays a vital role in the performance of the vehicle, resolving the O2 sensor codes is really important. So in this case, a step by step procedure is very important, and here is how you should approach fixing.
Step 01. Read the Codes
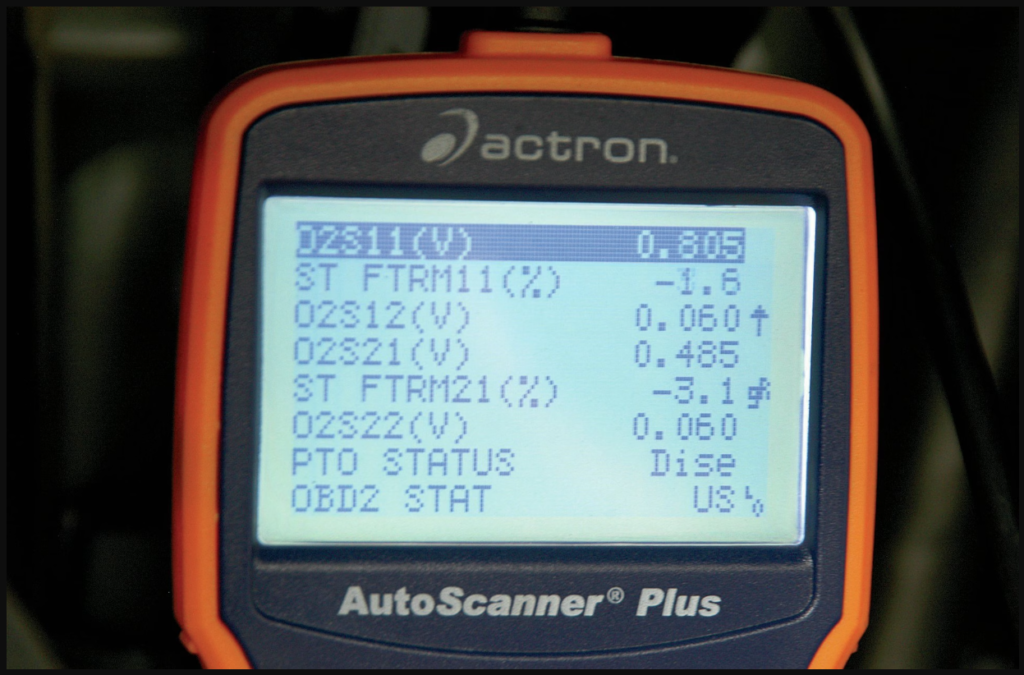
Start by using an OBD-II scanner to retrieve the specific oxygen sensor codes. This provides valuable information about which sensor is affected and the nature of the problem.
Step 02. Visual Inspection
Inspect the wiring harnesses, connectors, and sensors for visible damage, corrosion, or loose connections. Address any issues found during this initial inspection.
Step 03. Check for Exhaust Leaks
Exhaust leaks near the oxygen sensors can introduce false air into the exhaust stream, affecting sensor readings. Inspect the exhaust system for leaks and repair as needed.
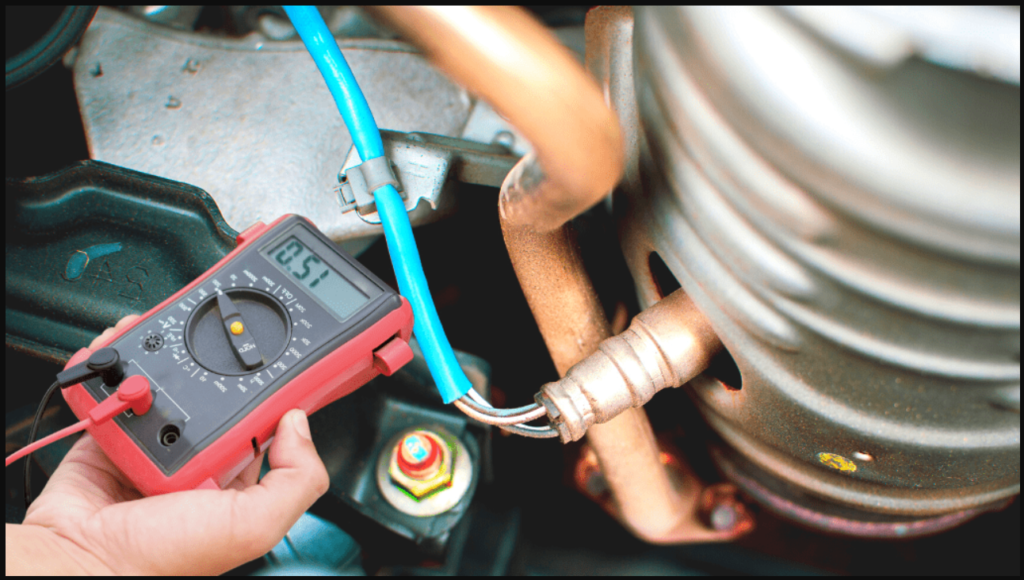
Step 04. Perform Component Tests
Test the oxygen sensors using a multimeter or an oscilloscope to verify their functionality. Compare the readings to specifications provided by the manufacturer.
Step 05. Monitor Fuel Trim
Monitor the vehicle’s short-term and long-term fuel trim values using a scan tool. Abnormal fuel trim values can indicate fuel delivery problems that affect the oxygen sensors.
Step 06. Check for Misfires
Engine misfires can impact oxygen sensor readings. Use diagnostic tools to identify and resolve any misfire issues.
Finally Step. Catalytic Converter Inspection
If all else fails, inspect the catalytic converter for damage or inefficiency. A failing catalytic converter can trigger oxygen sensor codes and may need replacement.
And also replacing the sensor will help fixing this problem in most of the times, and if you choose that option, then here is what to do next.
What to do after replacing oxygen sensor?
Once you’ve replaced your car’s oxygen sensor, it’s important to ensure everything is working correctly. Use a tool to erase any error codes that may still be in the car’s computer. Double-check that the new sensor is installed properly and that the wires are in good shape without any damage.
Take your car for a drive to see if it runs smoothly without any problems, and make sure the check engine light stays off. Also, use the tool to check if any new oxygen sensor codes pop up. To prevent future sensor issues, don’t forget to keep up with regular car maintenance.
How to turn off check engine light after changing o2 sensor?
here’s a step-by-step guide on how to turn off the check engine light (CEL) after changing an oxygen sensor (O2 sensor):
Step 01: Ensure Proper Installation
- Double-check that you’ve correctly installed the new O2 sensor.
- Ensure that any wires or connectors related to the sensor are securely connected.
Step 02: Clear Error Codes
- Obtain an OBD-II scanner or code reader.
- Plug the scanner into the OBD-II port under your car’s dashboard.
- Turn the vehicle’s ignition to the “On” position without starting the engine.
- Use the scanner to clear the error codes stored in the vehicle’s computer. Look for an option like “Clear Codes” or “Erase Codes” on the scanner’s menu.
- Wait for the scanner to complete the process.
Is Aftermarket Catalytic Converter Loud? Everything You Need To Know
ENGINERIDES.COM
Step 03: Disconnect Battery (Optional)
- If clearing the codes didn’t turn off the CEL, you can try disconnecting the car’s battery as an additional step.
- Locate the car’s battery and use a wrench or socket set to disconnect the negative (black) terminal. Leave it disconnected for about 5-10 minutes.
- Reconnect the negative terminal.
Step 04: Drive the Vehicle
- Start the car and drive it for a while, including various driving conditions such as city and highway driving.
- During this time, the vehicle’s computer will monitor the O2 sensor’s performance.
- If the O2 sensor replacement has resolved the issue, the CEL should remain off.
Step 05: Verify Sensor Functionality
- After driving, use your OBD-II scanner to check for any returning error codes.
- Monitor the vehicle’s performance, paying attention to factors like fuel efficiency, engine idling, and overall drivability.
- Ensure that the new O2 sensor is functioning correctly, as indicated by stable sensor readings.
Step 06: Professional Inspection (If Necessary)
- If the check engine light persists or returns after following the above steps, it’s advisable to have the vehicle professionally inspected by a mechanic.
- There may be underlying issues beyond the O2 sensor that require attention.
Remember that proper diagnosis and resolution of O2 sensor-related issues are essential not only to turn off the check engine light but also to ensure your vehicle operates efficiently and complies with emissions regulations.
Conclusion
Dealing with persistent oxygen sensor codes can be a frustrating experience for vehicle owners and mechanics alike. However, understanding the reasons behind these recurring codes and following a systematic diagnostic process can lead to effective solutions. Remember to address not only the sensor but also any underlying issues that may be contributing to the problem. With patience and thoroughness, you can resolve oxygen sensor issues and keep your vehicle running smoothly.
Some related FAQs
1. Can I ignore oxygen sensor codes if my vehicle seems to run fine?
Ignoring oxygen sensor codes can lead to decreased fuel efficiency and increased emissions. It’s advisable to diagnose and resolve the issue to maintain optimal performance.
2. Are aftermarket oxygen sensors reliable?
While some aftermarket sensors are of good quality, OEM (Original Equipment Manufacturer) sensors are generally more reliable and compatible with your vehicle’s system.
3. Why do oxygen sensor codes disappear and reappear intermittently?
Intermittent issues, such as wiring problems or exhaust leaks, can cause codes to come and go. Capturing data during a code occurrence can help diagnose the problem.
4. Can I drive with an oxygen sensor code?
You can drive with an oxygen sensor code, but it’s not advisable in the long term. Unresolved issues can lead to reduced performance and fuel efficiency.
5. How much does it cost to replace an oxygen sensor?
The cost of replacing an oxygen sensor varies depending on the sensor type and vehicle make and model. OEM sensors are generally more expensive than aftermarket ones. Expect costs to range from $50 to $200 or more per sensor, including labor.